
Last updated November 2, 2026
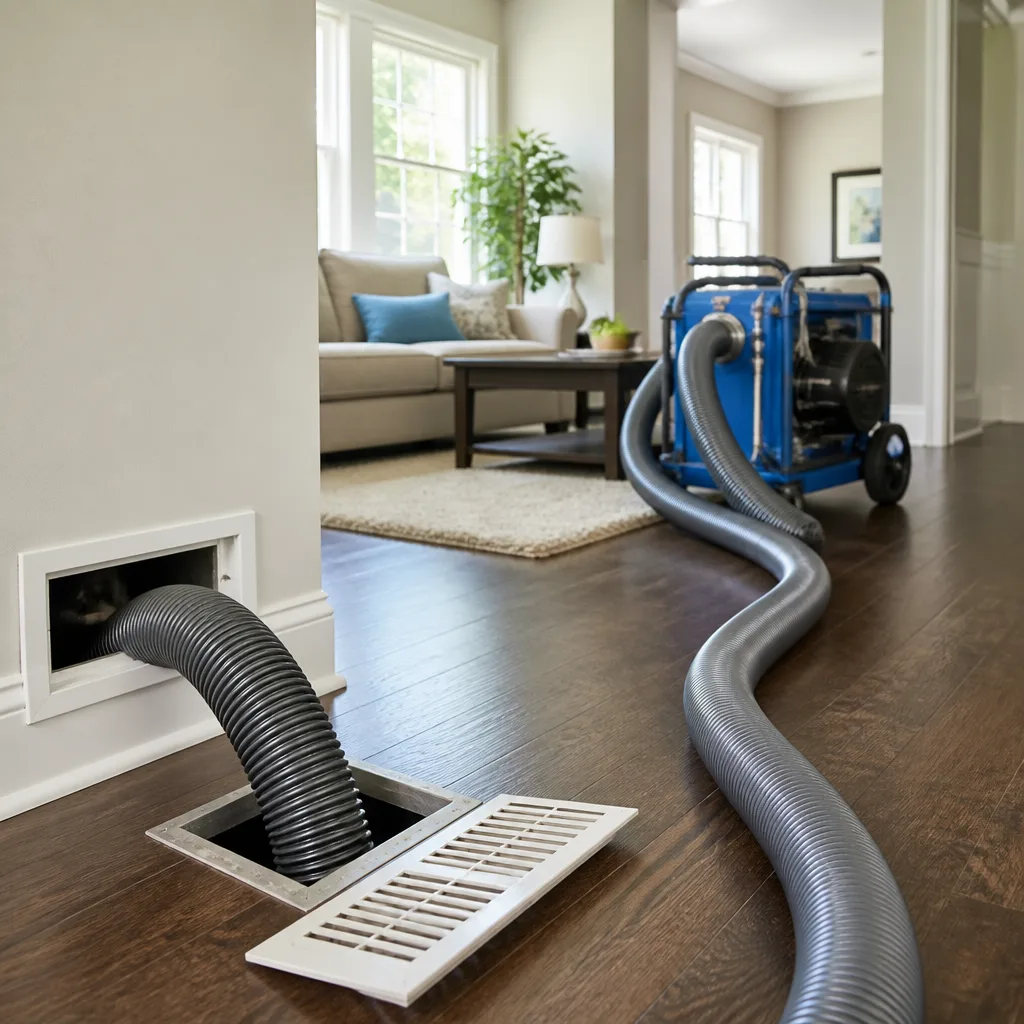 Whole-home duct cleaning
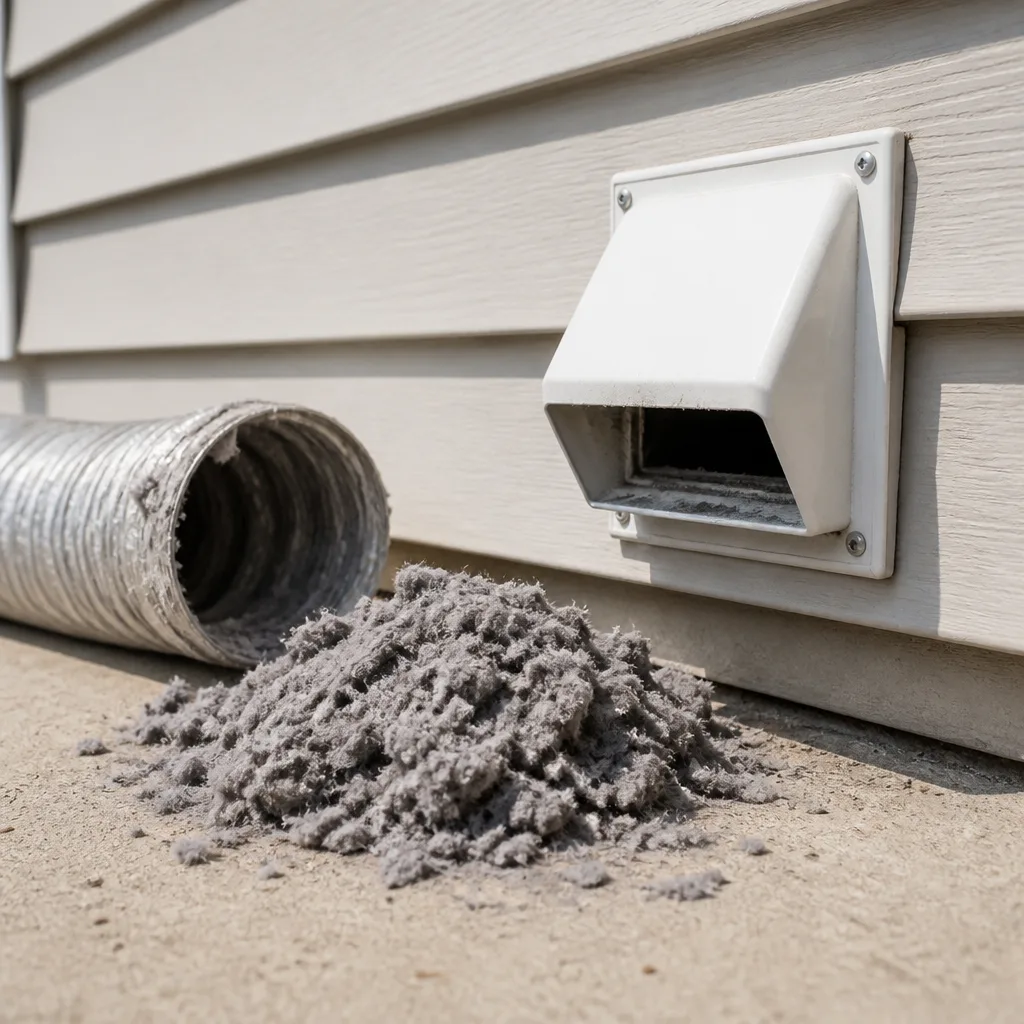 Dryer vent cleaning
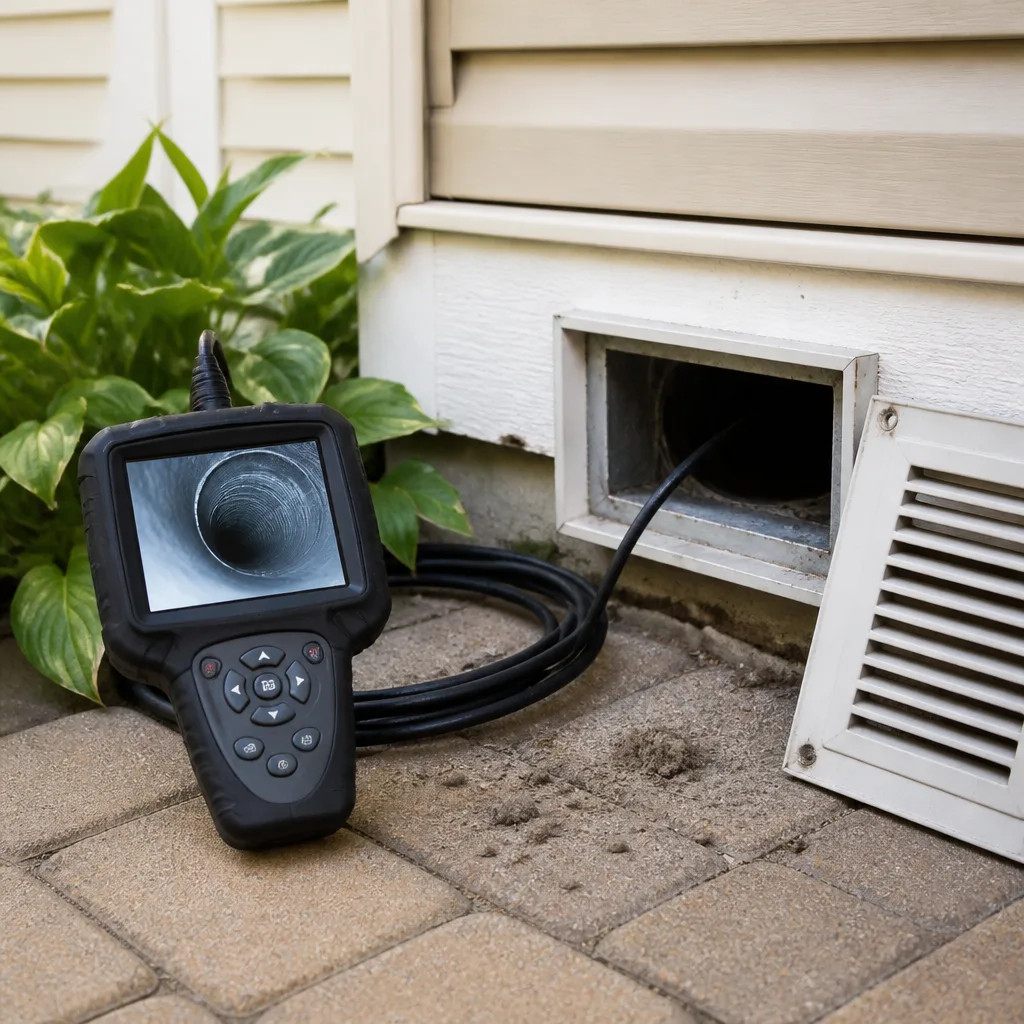 Camera inspection
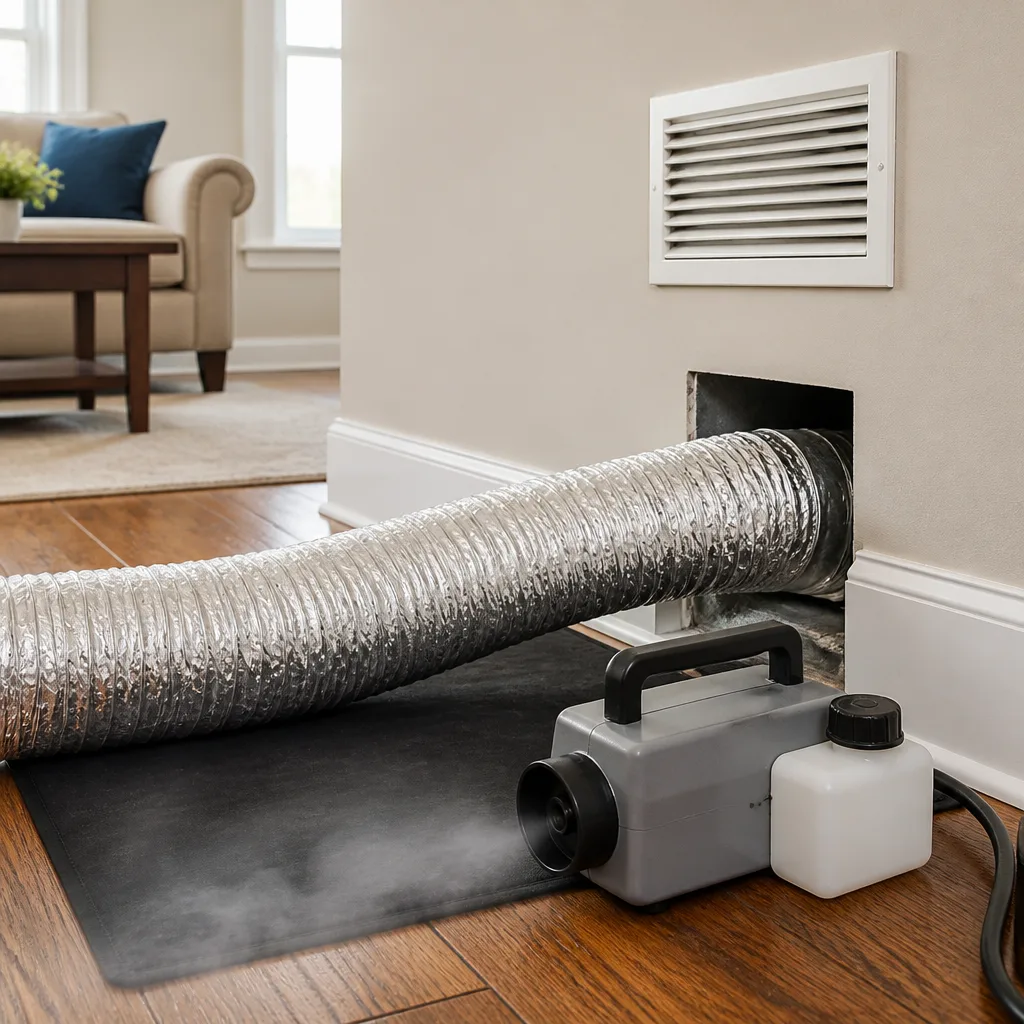 Sanitizing & deodorizing
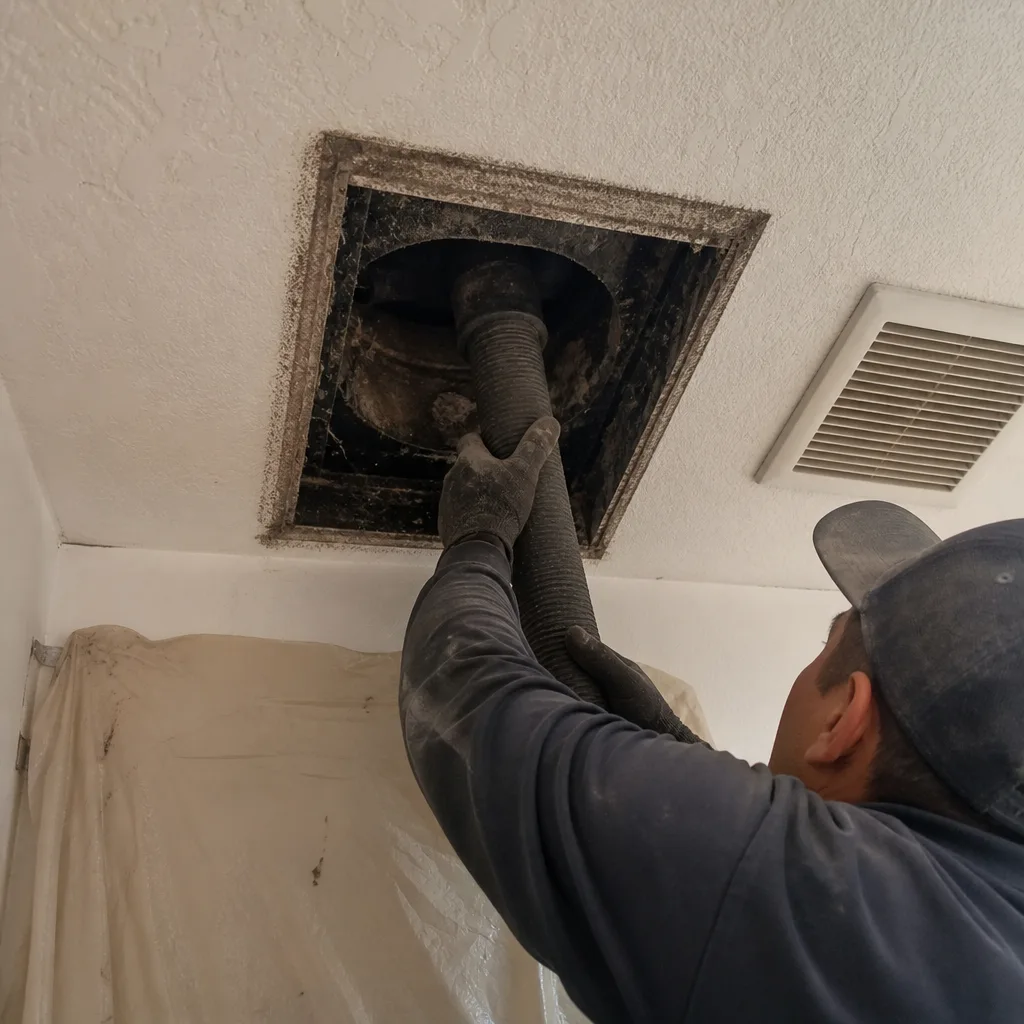
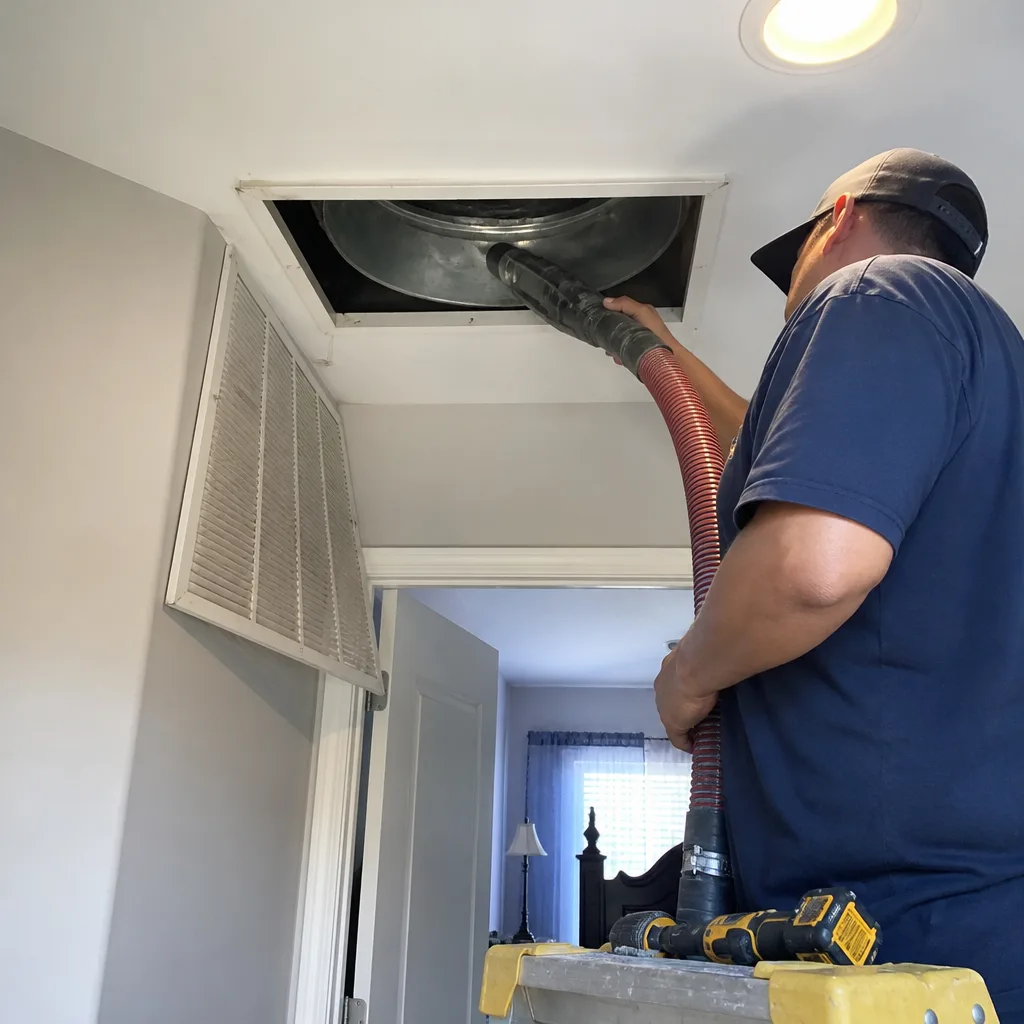
Whole-system duct and dryer vent check with before-and-after photos - you see exactly what came out of your vents
That "$99 whole-house special" is a bait ad - the real number appears once they are in your hallway, or the "clean" is a shop-vac at the register. We photograph the inside of your ducts before and after instead.
The Complete Air Duct Cleaning Guide for San Jacinto Homeowners
San Jacinto sits in a high-desert wind corridor that pushes fine particulate matter directly into residential HVAC intakes, yet most local duct cleaners use the same 150 CFM portable unit sold at HVAC supply houses nationwide. That equipment wasn’t designed for this. This guide explains what actually happens inside ducts exposed to Santa Ana wind events and Soboba Basin dust, why the equipment matters more than the process, and how to verify the work was done to depth rather than just to the register face. We’ll cover system mechanics, inspection protocol, cleaning methodology, and the post-job verification that separates a surface wipe from a real clean.
Quick Answer
Air duct cleaning in San Jacinto should involve a full negative-pressure extraction system with mechanical agitation, not a portable vacuum attached to a register. For homes in this high-desert climate, expect to pay between $450 and $850 for a complete system clean, with pre-inspection video and post-cleaning pressure verification included. Duct Cleaning San Jacinto provides free estimates at Air Duct Cleaning in San Jacinto or by calling (866) 569-6948.
Styles & brands we work with
- Whole-home duct cleaning
- Dryer vent cleaning
- Camera inspection
- Sanitizing & deodorizing
Table of Contents
- Why San Jacinto Ducts Fill Faster Than Coastal Homes
- Surface Cleaning vs. System Cleaning: The Mechanical Difference
- The Pre-Cleaning Inspection: What to See Before Equipment Starts
- How to Read Your HVAC Layout: Supply, Return, Trunk, and Branch
- The Cleaning Process, Step by Step
- Post-Cleaning Verification: Pressure Drop and Visual Proof
- How Often Duct Cleaning Really Needs Done in San Jacinto
- Signs Your Ducts Need Attention Beyond Dirt
Why San Jacinto Ducts Fill Faster Than Coastal Homes
San Jacinto’s location at the base of the San Jacinto Mountains puts it in a wind pattern that coastal Southern California homes simply don’t experience. When Santa Ana conditions push through the San Gorgonio Pass, the air carries fine particulate from the Soboba Basin and surrounding dry lake beds. This dust measures in the PM2.5 and PM10 range, which means it stays airborne longer, travels farther, and infiltrates HVAC intakes at a rate that surprises homeowners who moved here from Orange County or San Diego. A coastal home might show a thin film of dust in ducts after three years. A San Jacinto home shows visible caking in the return plenum after eighteen months of normal operation.
Temperature swings compound the problem. San Jacinto sees summer highs above 100°F and winter nights near freezing. Your system cycles more frequently, pulling more air volume through the return side, which means more opportunities for particulate capture. The insulation inside ducts expands and contracts with these swings, creating micro-cracks at joints and connections. Dust doesn’t just accumulate inside the duct. It works into seams and settles in the low points of flexible runs. We’ve opened ducts in San Jacinto where the bottom third of the return trunk was a compacted layer of fine silt and construction debris from a remodel done years before the current homeowner purchased the property.
What this means practically: the “every 5 to 7 years” rule that national guides quote doesn’t apply here. San Jacinto homeowners running standard 1-inch fiberglass filters should expect meaningful duct accumulation in 2 to 3 years. Homes with pets, recent renovation, or occupants with respiratory sensitivities may need attention sooner. The Duct Cleaning San Jacinto home page explains our service area and approach for local homeowners who want a straight answer on timing.
Surface Cleaning vs. System Cleaning: The Mechanical Difference
Most duct cleaning companies in the Inland Empire operate with portable vacuum units in the 150 to 250 CFM range. These machines attach to a single register at a time and create mild suction while a technician feeds a brush through the opening. The limitation is fundamental: the vacuum can only pull air through the register it’s attached to, and 150 CFM of suction cannot overcome the static pressure of a full duct run. What you get is contact cleaning of the first few feet of ductwork from each register face. The main trunk, the return plenum, and the far reaches of branch lines stay untouched.
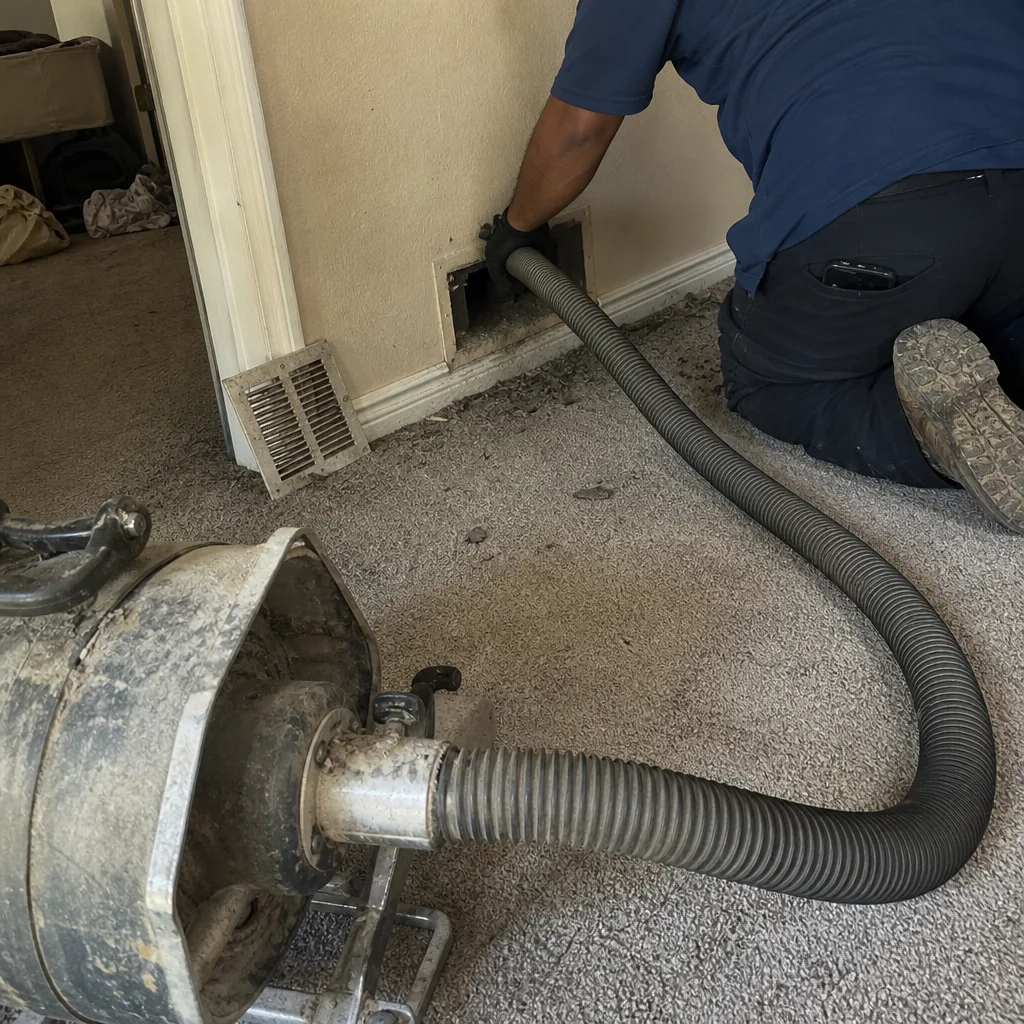
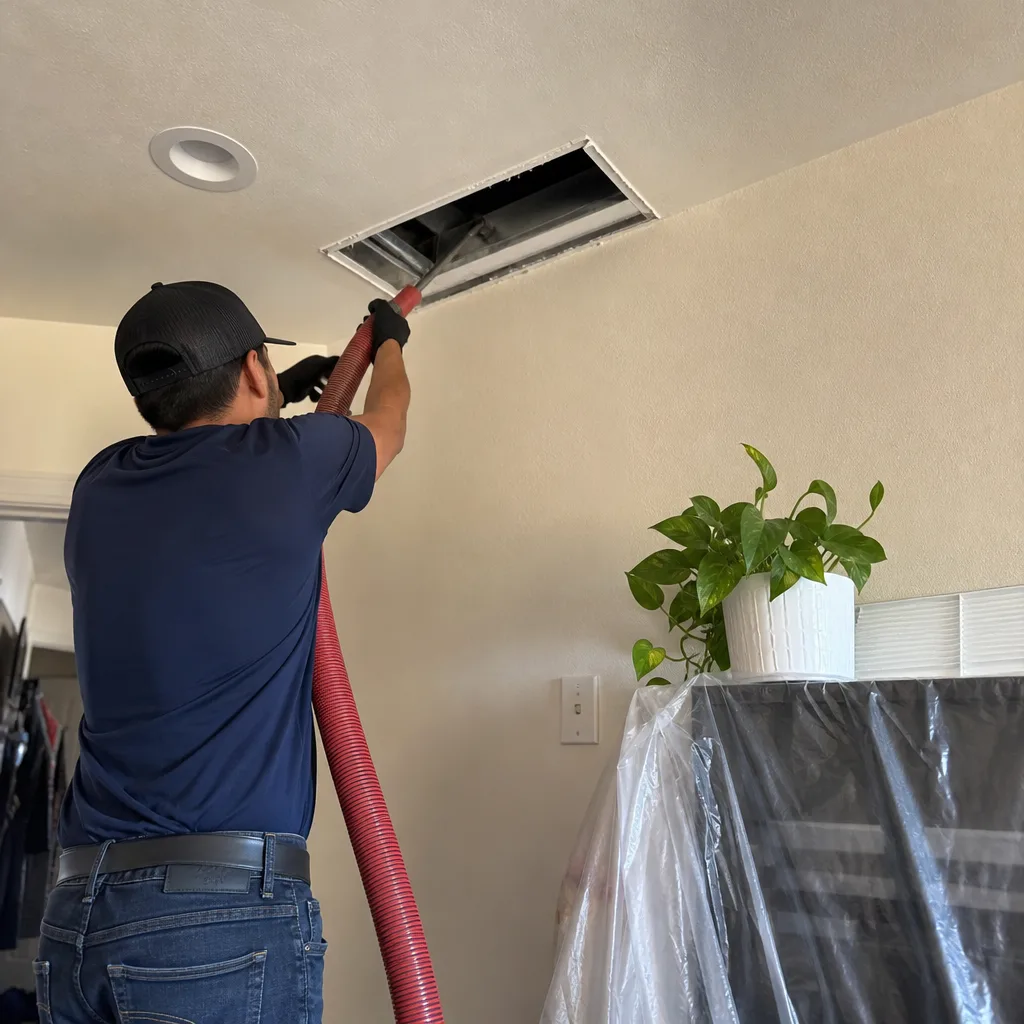
System cleaning operates on a different principle: negative pressure. A high-capacity vacuum unit, typically 2,000 CFM or more, connects directly to the supply or return trunk and depressurizes the entire duct network. This creates a continuous airflow path from every open register back to the vacuum. The technician then introduces mechanical agitation, usually a rotary brush system like the Rotobrush, through each register opening while the negative pressure pulls loosened debris back through the system and into the vacuum’s filtration. The key distinction is airflow direction and volume. In surface cleaning, you’re pushing debris around with a brush and hoping the weak vacuum catches some of it. In system cleaning, you’re creating a directed air stream that carries debris out of the duct entirely.
This matters in San Jacinto because of what’s actually in the ducts. The fine particulate from wind events doesn’t sit loose on the bottom of the duct like pet hair. It adheres to surfaces via static charge and compacts over time. A brush alone dislodges some of it. A brush combined with 2,000 CFM of directional airflow extracts it. Without adequate negative pressure, a brush can actually make the problem worse by dislodging debris that then redistributes deeper into the system. Professional-grade equipment, not improvised tools, is the line between a visible improvement at the register face and an actual clean throughout the system.
The Pre-Cleaning Inspection: What to See Before Equipment Starts
Before any cleaning equipment is powered on, you should see the inside of your own ducts. A proper pre-cleaning inspection uses a high-resolution video scope pushed through the return, supply trunk, and representative branch lines. The technician should walk you through what the camera shows. This is the single most important transparency step in the entire process, and it’s the step most frequently skipped by companies that intend to upsell you mid-job.
Here’s what a real pre-cleaning inspection shows and why each item matters:
- Debris type and location. The camera reveals whether you’re dealing with household dust, construction debris, pet hair, or something more concerning like rodent droppings or mold growth. Each requires a different approach, and you should know what’s being addressed before work starts.
- Duct integrity. The video should identify any gaps, disconnected joints, crushed flex runs, or holes in the ductwork. Cleaning a system with a disconnected branch line means pulling dirt from places it shouldn’t be pulled from. Repair should happen before or during cleaning, not after a separate visit.
- Filter bypass evidence. If dust is heavily caked on the air handler coil or in the supply plenum downstream of the filter slot, your filter system is bypassing air. The technician should show you this and discuss filter upgrades or fit corrections.
- Baseline condition. The pre-inspection creates a reference point. If a technician claims a problem during cleaning, you can check it against the pre-inspection footage. If a problem was visible on camera before work started and wasn’t mentioned, that’s a red flag.
Skipping this step is the industry’s most common upsell setup. A technician arrives, opens one register, looks inside with a flashlight, and announces that you have mold, rodent activity, or severe contamination requiring additional services. Without pre-inspection video, you have no way to verify the claim. Demand the camera. If a company won’t show you the inside of your own ducts before starting work, find another company. Our Air Duct Repair in San Jacinto service often begins with exactly this kind of inspection, because damage discovered during cleaning shouldn’t require a separate appointment to fix.
How to Read Your HVAC Layout: Supply, Return, Trunk, and Branch
You don’t need to be an HVAC technician to verify that a contractor is cleaning your full duct network, but you do need to understand the basic layout of your system. Most San Jacinto homes have a simple topology that’s easy to map in ten minutes.
The return side pulls air from your living space back to the air handler. It starts at return grilles, usually installed high on walls or in ceilings in hallways and common areas. From each return grille, the air travels through return ductwork to the return plenum, a large box that sits directly before the air handler. The return plenum is where most debris accumulates, because it’s downstream of the filter in many homes and sees the full airflow volume of the system. If a contractor cleans your supply ducts but doesn’t access the return plenum, they’ve skipped the dirtiest part of the system.
The supply side pushes conditioned air from the air handler out to your rooms. The supply plenum sits directly after the air handler and connects to the supply trunk, typically a large rectangular or round duct running through the attic, crawlspace, or basement. From the supply trunk, branch lines split off to each supply register in each room. These branch lines are usually 6-inch or 8-inch flexible ducts, and they’re the most likely places for disconnects, kinks, or collapsed sections because they’re run through tight attic spaces.
Here’s what to check before or during a cleaning:
- Count your return grilles and supply registers. Walk the house and count every vent opening. A contractor should clean through every single opening. If they tell you they clean “the main lines” but not every branch, that’s not a full clean.
- Locate your air handler. In San Jacinto, air handlers are typically in an attic or closet. The technician should access the unit directly, not just the registers. Cleaning the air handler cabinet, blower wheel, and evaporator coil is part of a system clean.
- Identify the filter location. If your filter is in a return grille, the return side is partially protected. If it’s at the air handler, the entire return duct run is unfiltered and collects everything. The technician should know which configuration you have and explain what it means for your cleaning.
- Map the trunk line. In an attic, you can often see the main supply trunk. Ask the technician to show you where the trunk begins and ends. If they’re accessing it from only one end, they’re not cleaning the full length.
Understanding this layout isn’t about second-guessing a competent technician. It’s about verifying that the scope of work matches the actual system. A branch line that never gets cleaned will continue feeding dust into one room of your house, and you’ll notice it within weeks of the service.
The Cleaning Process, Step by Step
When we clean a duct system in San Jacinto, the process follows a specific sequence. This isn’t proprietary methodology. It’s the mechanical logic of negative-pressure cleaning applied carefully, and any competent contractor using professional equipment should follow a similar pattern. Here’s what a full system clean looks like:
- System shutdown and assessment. The air handler is powered off at the disconnect. The technician confirms the system layout, locates all access points, and reviews the pre-cleaning inspection footage.
- Filter removal and inspection. The existing filter is removed and examined. A heavily loaded filter tells you the system has been pulling significant particulate. A clean filter in a system with dirty ducts suggests filter bypass, which points to fit or sizing problems.
- Equipment connection. The negative-pressure vacuum, running at 2,000 CFM or higher, is connected to the supply trunk near the air handler. This is the critical difference from portable units: the vacuum creates system-wide negative pressure rather than register-level suction. Nikro HEPA-rated vacuum equipment captures loosened debris and prevents it from recirculating into your living space.
- Mechanical agitation. With negative pressure established, the technician feeds a rotary brush system through each register opening and each branch line. The Rotobrush’s rotating head makes contact with the duct walls, dislodging the adhering particulate that static charge and compaction have locked onto surfaces. The directed airflow carries debris back to the vacuum’s filtration rather than pushing it deeper into the system.
- Trunk line access and cleaning. The main supply trunk receives direct attention. In most San Jacinto homes, this requires cutting or opening an access panel in the trunk, which is sealed properly after cleaning. The full trunk length is brushed and extracted.
- Return side cleaning. The vacuum is moved to the return side, and the return plenum, return trunk, and each return branch are cleaned in the same manner. The return plenum typically yields more debris than the entire supply side combined.
- Air handler and coil cleaning. The blower wheel, blower housing, and evaporator coil are cleaned with appropriate methods. Debris on the blower wheel throws the wheel out of balance and increases motor amp draw, shortening the equipment’s life. Guardsman-grade cleaning protocols protect these components during service.
- Post-cleaning inspection and verification. The camera goes back in. You see the same angles you saw in the pre-inspection, and you can compare directly. Pressure measurements are taken if the system showed abnormal static pressure before cleaning.
This entire process for a standard San Jacinto home takes four to six hours. A one-hour “duct cleaning” is not a duct cleaning. It’s a register wipe with a vacuum attachment.
Post-Cleaning Verification: Pressure Drop and Visual Proof
Post-cleaning verification splits into two categories: what you can see and what you can measure. Both matter, and a contractor who only offers one is leaving something out.
Visual verification is the camera walk-through after cleaning. The key is comparing identical locations from the pre-inspection footage. If the pre-cleaning video showed caked debris in the return plenum and the post-cleaning video shows clean sheet metal, you have proof of work at depth. If the post-cleaning video shows the same angles a little brighter but with visible residue on the duct walls, the agitation didn’t make full contact. Ask for the before-and-after footage. Any company using video inspection equipment can provide it, and any company that refuses to show post-cleaning video is signaling something about the thoroughness of their work.
Pressure drop testing is the measurement side of verification. Your HVAC system is designed to operate within a specific static pressure range, typically 0.5 inches of water column for residential systems. A heavily debris-loaded duct system creates higher static pressure, which forces the blower to work harder and reduces airflow to rooms. Before cleaning, a technician should measure static pressure across the system. After cleaning, the same measurement should show reduced pressure drop across the ductwork. This is particularly relevant in San Jacinto homes where the accumulating particulate is fine and dense, packing into duct corners and constricting effective diameter. If your system showed 0.8 inches of static pressure before cleaning and 0.55 after, you have quantitative proof that the restriction was removed. If a contractor can’t or won’t measure static pressure, you’re relying entirely on camera footage and their word.
Some systems in San Jacinto also benefit from post-cleaning filter upgrades. Homes using standard 1-inch fiberglass filters are essentially running unfiltered. A MERV 8 to MERV 11 pleated filter, or a properly sized media cabinet with MERV 13 capability, makes a substantial difference in how quickly ducts re-accumulate debris. For homes with whole-home air quality platforms, this is where system-level thinking matters. If your home has Honeywell or Aprilaire equipment, your duct system is part of an integrated IAQ platform, not isolated ductwork. The connection between a clean duct system and a functioning whole-home air purifier is real: a purifier can’t compensate for a debris-loaded return side, and clean ducts make the purifier’s job achievable. Our Air Duct Cleaning in San Jacinto service includes this kind of system-aware assessment, because a duct clean that ignores the air handler or the filtration strategy is incomplete.
How Often Duct Cleaning Really Needs Done in San Jacinto
The standard answer from national organizations is every 3 to 5 years. For San Jacinto homes, that range needs adjustment. Here’s what we recommend based on what we pull out of local systems:
- Standard home, no pets, no renovation, MERV 8 or better filter: every 3 to 4 years. The wind-driven particulate load in this area shortens the national average, but a good filter and a sealed system keep things manageable.
- Home with pets, especially indoor dogs or cats: every 2 to 3 years. Pet dander and hair accumulate in the return plenum faster than dust alone, and they bind with fine particulate to form the compacted layer that’s hardest to remove.
- Home with recent renovation or construction: clean immediately after project completion, then resume normal schedule. Drywall dust, sawdust, and insulation fibers from construction will fill a duct system beyond what any filter can catch.
- Home with respiratory-sensitive occupants or allergy management needs: every 2 years, regardless of filter type. The particulate load in San Jacinto’s air means even well-filtered homes benefit from shorter intervals when IAQ is a health priority.
- Home that’s never had ducts cleaned and is over 10 years old: clean now, regardless of how long you’ve owned the home. You’re inheriting whatever the previous owners left behind.
These are guidelines, not rules. The real answer comes from the pre-cleaning inspection. If the camera shows accumulation starting but not severe, you can sometimes extend the interval with a filter upgrade. If the camera shows a return plenum that looks like a dry lake bed, the interval doesn’t matter because the job needs doing now.
Signs Your Ducts Need Attention Beyond Dirt
Duct cleaning addresses accumulation of particulate. Duct repair addresses structural problems, and the distinction matters because cleaning a damaged system is wasted money. Here are the signs we look for that indicate your ducts need more than a clean:
- Visible dust on supply registers despite recent cleaning. If you’ve wiped the register face and it’s dusty again within days, you’re seeing debris from inside the supply branch, not from household air. This points to a duct system that hasn’t been properly cleaned or has re-accumulated quickly.
- Rooms that stay warm in summer or cold in winter despite system running. This often indicates a disconnected or crushed branch line delivering little or no airflow to that room. Cleaning won’t fix a broken connection. Air Duct Repair in San Jacinto addresses this directly, and we often find these issues during the inspection phase of a cleaning job.
- Whistling or rushing sounds from specific registers. This typically means a register is undersized for the airflow it’s receiving, often because a nearby branch is disconnected and air is short-circuiting. The sound is the system telling you something about its own integrity.
- Sudden increase in energy bills without changed usage patterns. A duct leak in an attic system pulls conditioned air into unconditioned space and forces the system to run longer to maintain temperature. In San Jacinto’s summer heat, a leaking supply trunk costs real money every month.
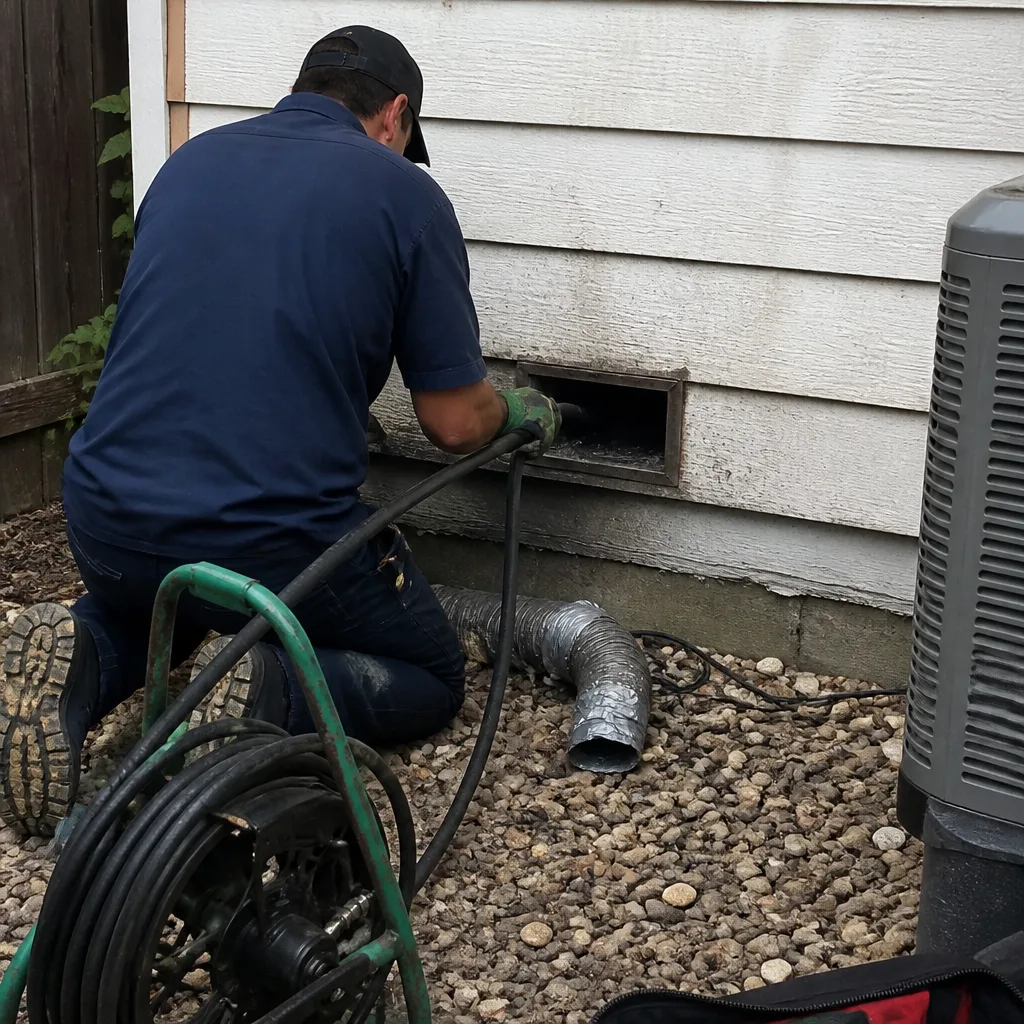
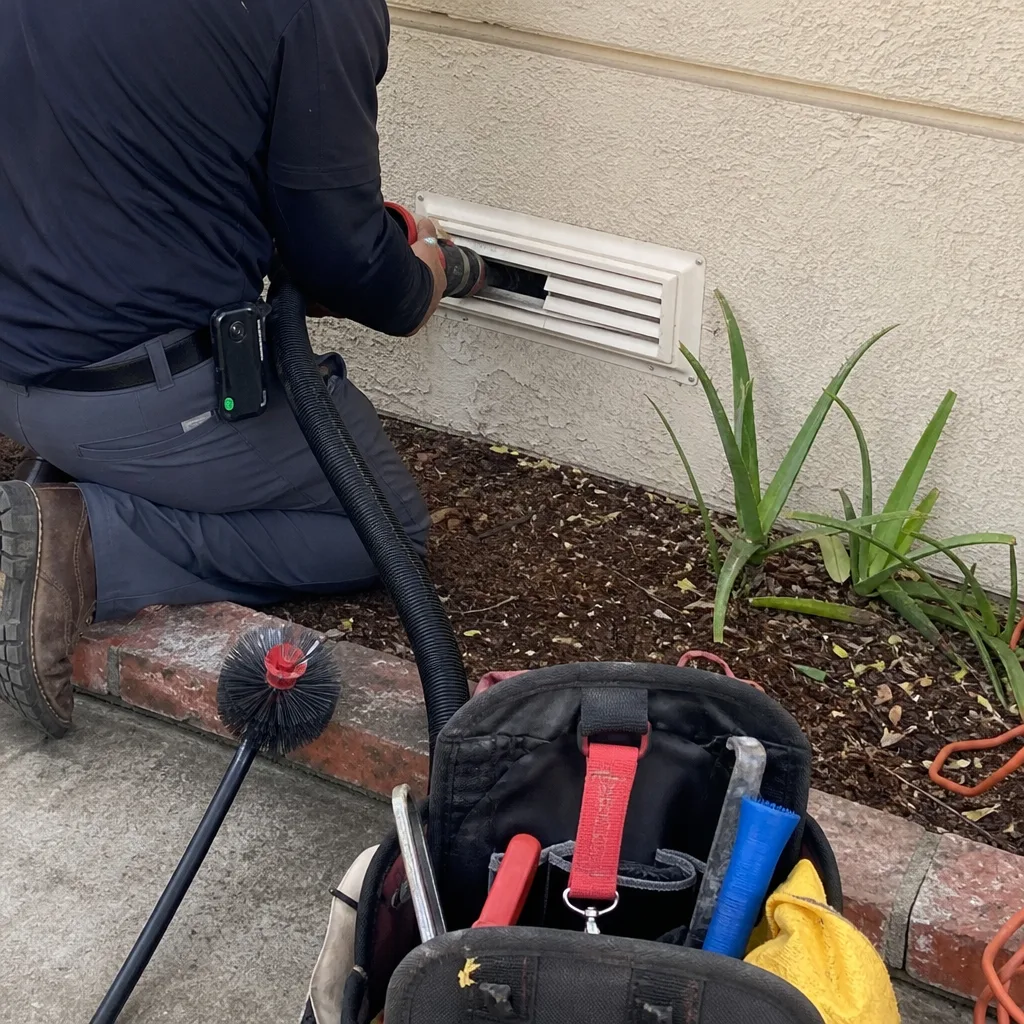
- Dryer taking longer than 45 minutes per load. This isn’t a supply or return issue; it’s a dryer vent issue. The Dryer Vent Cleaning in San Jacinto service addresses this as a dedicated line, because a restricted dryer vent is the leading cause of dryer fires and most HVAC cleaning companies treat it as an afterthought.
One thing we’ve seen repeatedly in San Jacinto: homeowners who schedule a duct cleaning because they want better air quality and discover during inspection that their system has a broken return connection or a collapsed flex run. The cleaning still helps, but the repair is what actually solves the problem. That’s why the pre-inspection matters. You find out what’s actually wrong before spending money on a service that addresses a symptom but not the cause.
Common Mistakes to Avoid
- Hiring a company that quotes per vent. This is the bait in the classic bait-and-switch. The quote comes in at $79 for “up to 10 vents,” and the technician arrives and discovers “additional contamination” requiring a $600 upgrade. A professional company quotes one flat price per system based on the actual duct layout and the pre-inspection findings. One flat price per system, agreed before work starts.
- Skipping the pre-cleaning video inspection. If you don’t see the inside of your ducts before cleaning starts, you have no reference point for verifying the work. This is the single most important transparency step, and companies that skip it usually have a reason.
- Accepting “it’s good enough” as verification. Good enough isn’t a measurement. Ask for post-cleaning camera footage and, if possible, pressure drop measurements. If a contractor can’t provide either, you’re trusting their word with no evidence.
- Waiting until you smell something. By the time you can smell a problem, the system is severely contaminated. Musty odors from supply registers mean biological growth or significant moisture retention, not just dust. Address it before it reaches the smell threshold.
- Running the cheapest filter available. The 1-inch fiberglass filters that cost $3 each catch almost nothing. In San Jacinto’s particulate environment, that means your entire duct system is the filter. Upgrade to MERV 8 or better, or install a media cabinet if your system allows.
- Ignoring the dryer vent entirely. Dryer vent cleaning is fire safety, not tidiness. A restricted dryer vent forces the dryer to run longer, overheat, and eventually exhaust lint through compromised connections into your home. It deserves dedicated attention, not a five-minute upsell at the end of a duct cleaning.
See the difference
 Before
 After
 Before
 After
 Before
 After
When to Call a Professional
Duct cleaning isn’t a DIY job, and duct repair certainly isn’t. The access alone, through attics and crawlspaces in San Jacinto homes, requires equipment and experience that most homeowners shouldn’t attempt. But beyond access, the real reason to call a professional is verification. A professional company can show you the inside of your ducts before and after, can measure the pressure changes that prove restriction removal, and can identify damage that a surface-level clean would miss entirely.
Specific scenarios that warrant a call: you’ve lived in your home more than three years without duct service and you’re in a high-dust area of San Jacinto; you’ve completed a renovation; someone in your home has persistent allergy symptoms that improve when away from the house; your energy bills are climbing without explanation; or you can see dust on register faces within days of cleaning them. Duct Cleaning San Jacinto offers free estimates in San Jacinto. Call (866) 569-6948 to schedule a pre-cleaning inspection and get an honest assessment of what your system actually needs.
Frequently Asked Questions
For a full system clean with professional negative-pressure equipment, San Jacinto homeowners should expect to pay between $450 and $850 for a typical single-family home. The range depends on system size, accessibility, and the severity of accumulation found during inspection. Companies quoting below $300 for a “full system clean” are almost certainly selling a register-level surface wipe with portable equipment, not a real system clean. Call (866) 569-6948 for an exact quote based on your system. Estimates are free.
Cheaper quotes come from cheaper equipment and less thorough scope. A portable 150 CFM vacuum run from register to register costs a few hundred dollars and produces weak suction. A 2,000 CFM negative-pressure system with rotary brush agitation and HEPA filtration costs tens of thousands of dollars and produces actual extraction throughout the system. You’re not paying for labor time. You’re paying for the machine that determines whether the debris leaves your ducts or stays in them.
You verify it two ways: camera footage before and after, and pressure measurements if available. The pre-cleaning inspection shows you what’s inside your ducts. The post-cleaning inspection shows you the same locations after the work. Compare them directly. If the contractor won’t show you both, treat the job as unverified. Call (866) 569-6948 to work with a company that makes this standard practice.
Every 2 to 4 years for most San Jacinto homes, depending on pets, renovation history, and filter quality. The high-desert wind patterns and particulate load in this area accelerate accumulation compared to coastal Southern California. The pre-cleaning inspection gives you the real answer for your specific system. Call (866) 569-6948 to schedule an inspection and stop guessing.
It can, but only if the clean reaches the full system. Surface cleaning of register faces doesn’t remove the particulate reservoir in the return plenum and trunk lines. A real system clean removes the accumulated debris that recirculates every time the blower runs, which for allergy sufferers can mean the difference between a system that distributes allergens and one that doesn’t. System-level compatibility with whole-home air quality platforms matters here too. If your home runs Honeywell or Aprilaire equipment, the duct clean and the IAQ platform work together.
Duct cleaning addresses the HVAC system that moves conditioned air through your home. Dryer vent cleaning addresses the exhaust path that moves hot, lint-laden air from your dryer to the outside. They’re separate systems with separate problems. Dryer vent restrictions are a fire risk. HVAC duct accumulation is an air quality and efficiency issue. A company that treats dryer vent service as a serious dedicated line, not an upsell, is taking the fire risk seriously. Call (866) 569-6948 to schedule either service.
The Bottom Line
San Jacinto’s specific climate conditions make duct cleaning a more urgent and more frequent need here than in most of Southern California. The fine particulate from wind events and the high-desert dust load accumulate faster, adhere harder, and require equipment that can extract debris from the full system, not just the register faces. Surface cleaning with portable vacuums leaves the dirtiest parts of your system untouched. System cleaning with negative pressure and mechanical agitation removes it.
Before you schedule any duct service, demand the pre-cleaning camera inspection. Know what’s inside your ducts before anyone starts working. Verify the work with post-cleaning footage and pressure measurements. If a contractor won’t show you both, walk away. Air Duct Cleaning in San Jacinto should leave you with proof, not promises. Call (866) 569-6948 for a free estimate and an honest assessment of what your system actually needs.
Written by the team at Duct Cleaning San Jacinto, serving San Jacinto since 2015.