
Last updated November 2, 2026
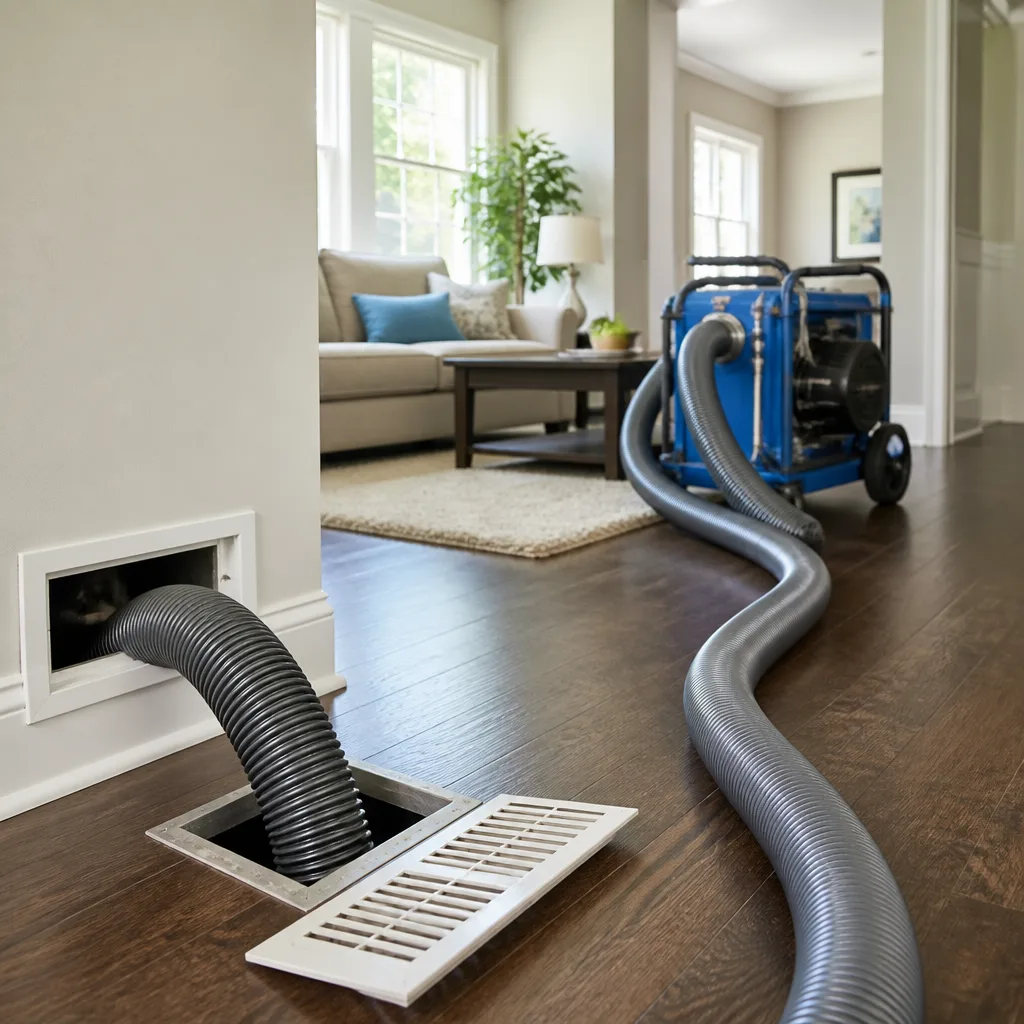 Whole-home duct cleaning
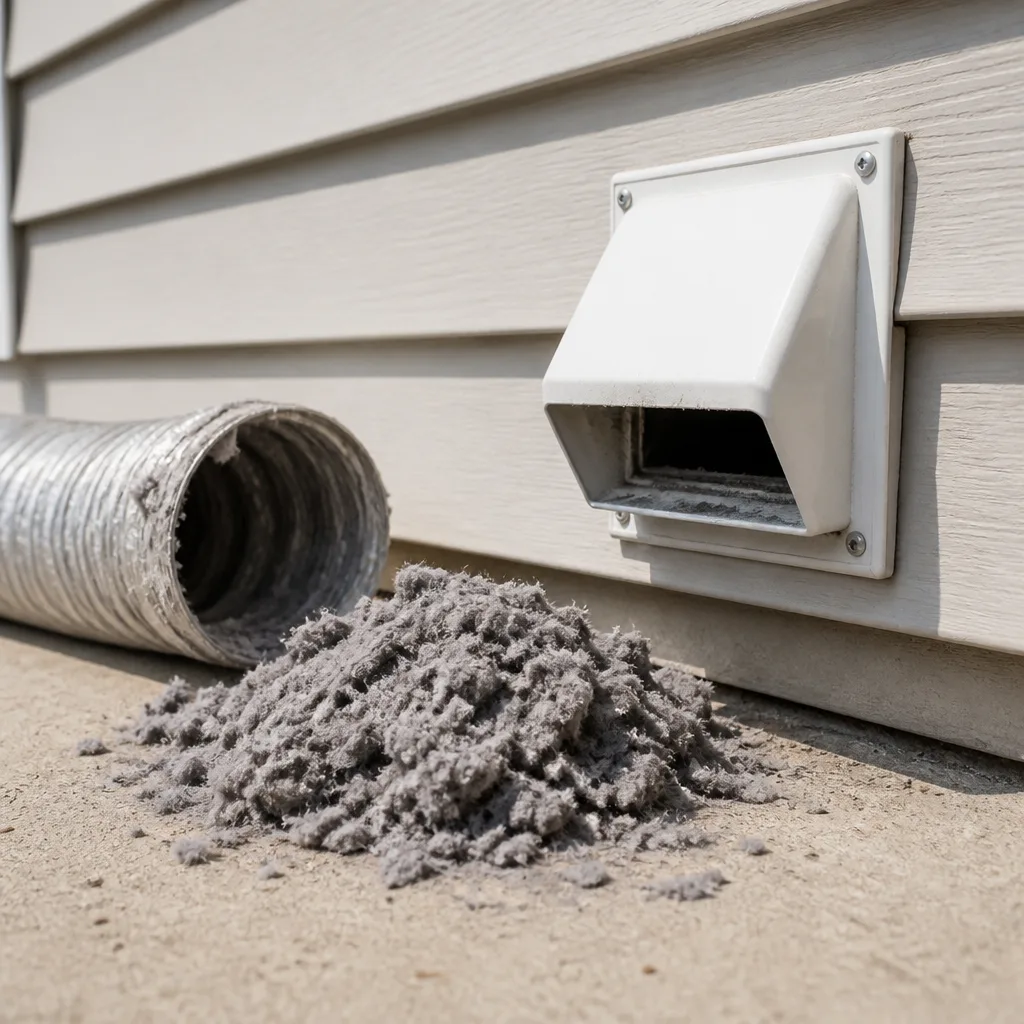 Dryer vent cleaning
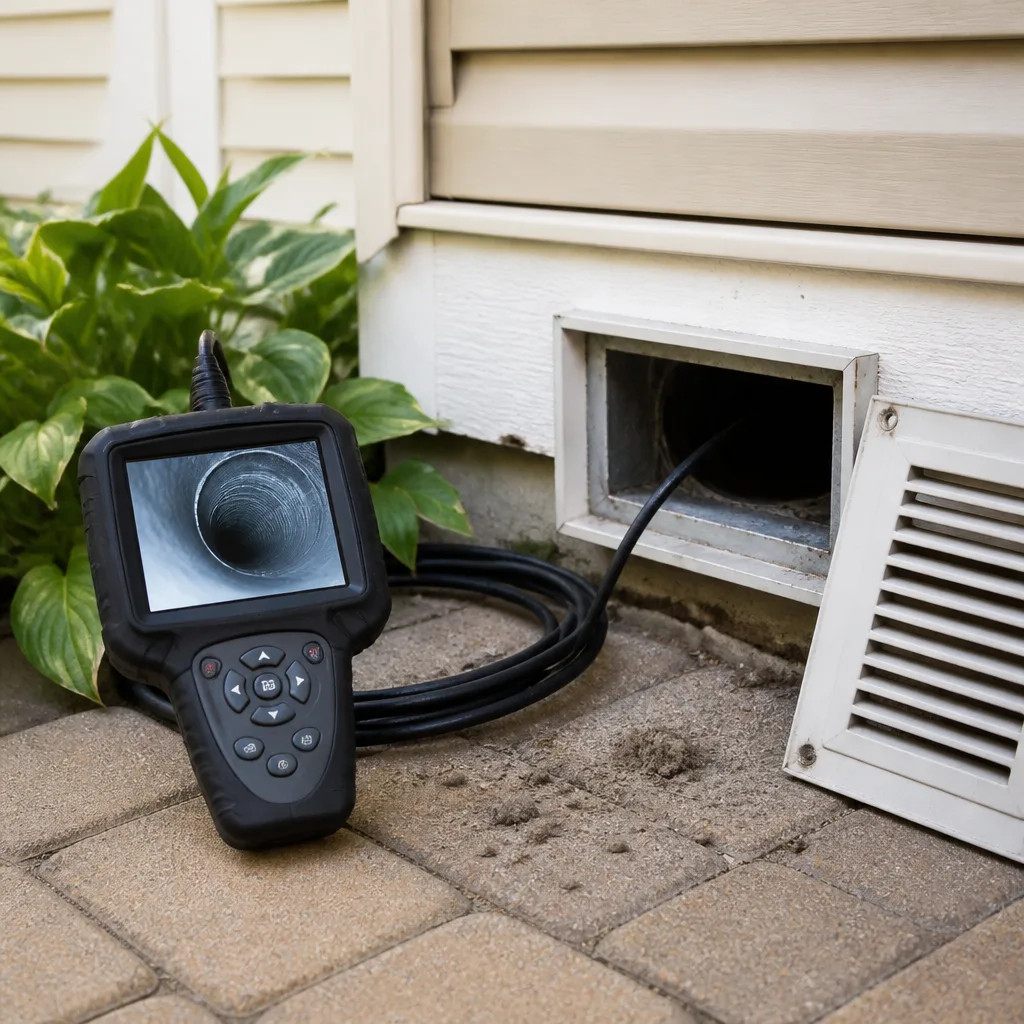 Camera inspection
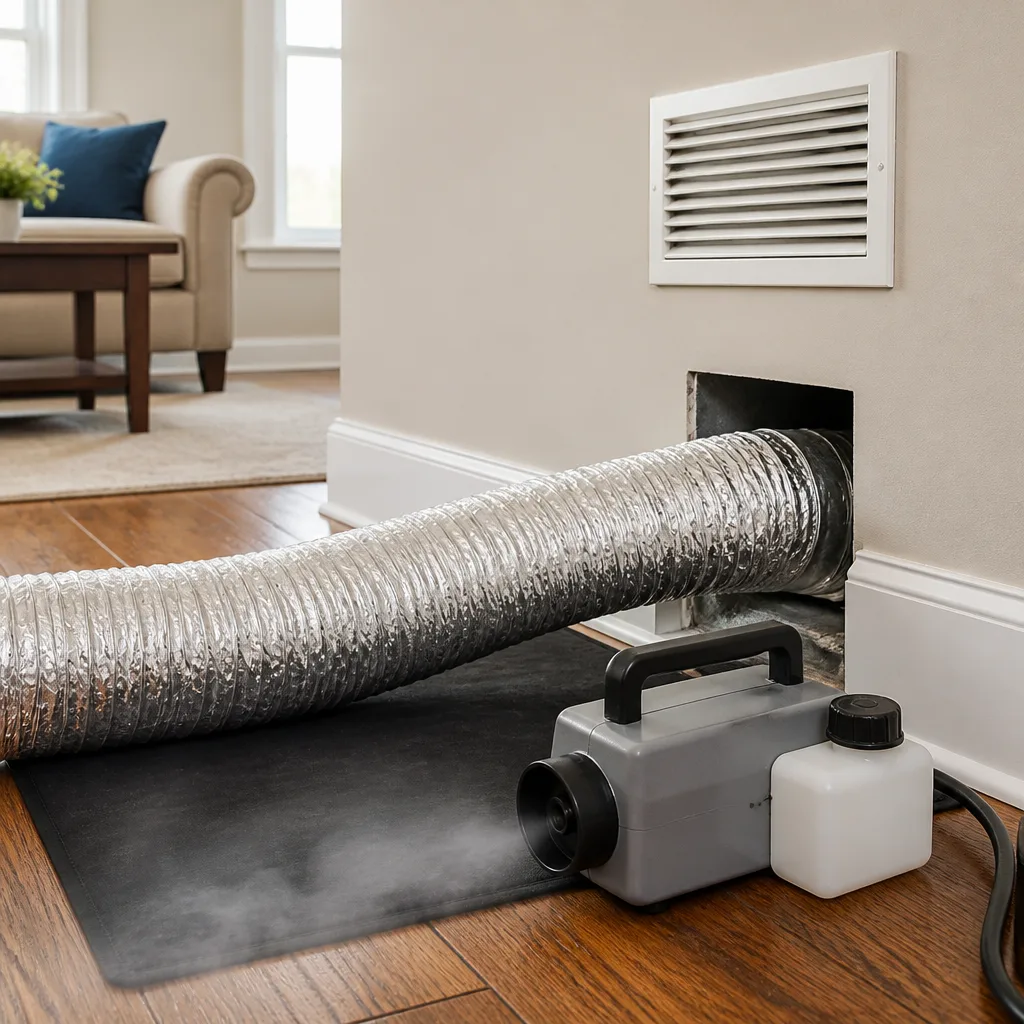 Sanitizing & deodorizing
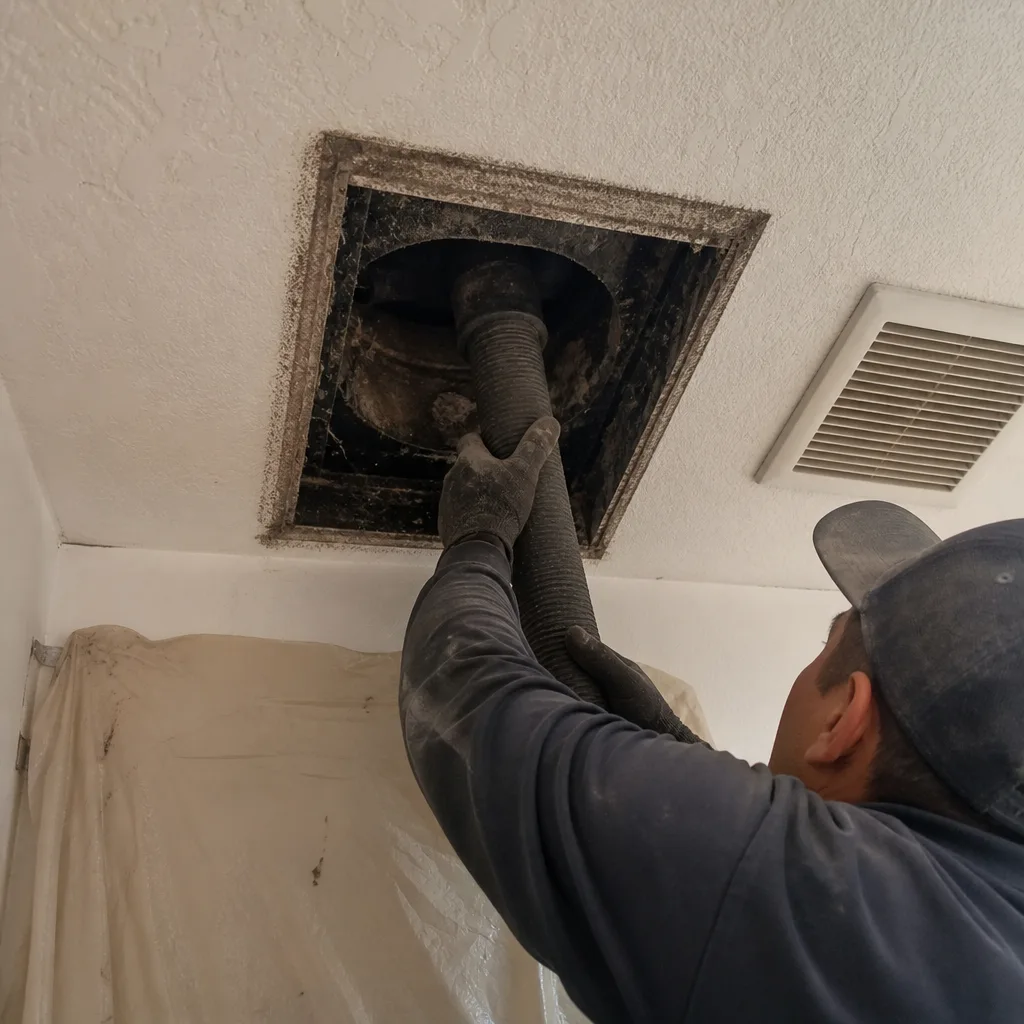
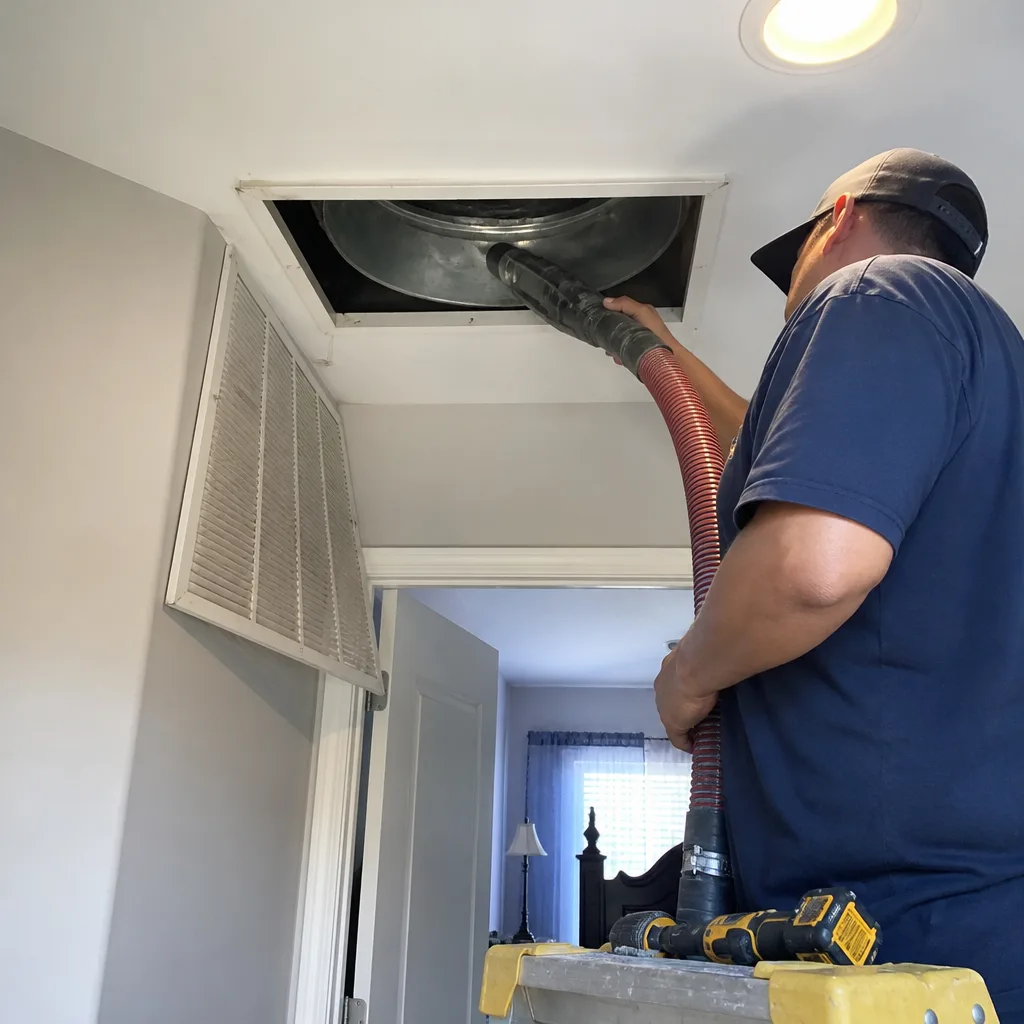
Whole-system duct and dryer vent check with before-and-after photos - you see exactly what came out of your vents
That "$99 whole-house special" is a bait ad - the real number appears once they are in your hallway, or the "clean" is a shop-vac at the register. We photograph the inside of your ducts before and after instead.
Air Duct Cleaning Troubleshooting: Common Problems and How to Fix Them
The most common call a duct cleaning company gets isn’t “can you clean my ducts.” It’s “someone already cleaned my ducts and now my house smells worse.” That outcome has a mechanical explanation, and it almost always points to a contractor who cleaned without inspecting first. In San Jacinto, where summer temperatures routinely cross 100°F and HVAC systems run for months without rest, a botched duct cleaning creates problems that range from musty odors to collapsed flex duct. This guide walks through what actually goes wrong inside ductwork after an Air Duct Cleaning, how to diagnose each failure, and what a real fix requires.
Quick Answer
Most air duct cleaning problems are caused by three things: a contractor who used undersized or improvised equipment, mold colonies that were agitated but never actually removed, or flex duct connections that were knocked loose during aggressive brushing. The fix depends on which failure occurred. A musty smell that appears after cleaning points to disturbed microbial growth requiring HEPA-level extraction and surface treatment. A room that suddenly gets weak airflow points to a disconnected or collapsed flex duct section. Allergy symptoms that persist beyond two weeks after cleaning point to contamination that was spread rather than contained.
Styles & brands we work with
- Whole-home duct cleaning
- Dryer vent cleaning
- Camera inspection
- Sanitizing & deodorizing
Table of Contents
- Why Ducts Smell Worse After Cleaning
- The Disconnected Flex Duct Problem
- Allergy Symptoms After Duct Cleaning: Normal vs. Problem
- Register Covers Reinstalled Incorrectly
- The 5-Step Troubleshooting Sequence Before You Call Anyone Back
- Why the Equipment Used Changes the Failure Rate
- Common Mistakes to Avoid
- When to Call a Professional
Why Ducts Smell Worse After Cleaning
When a homeowner tells us their ducts smell musty or earthy after a cleaning, there’s a predictable cause. The odor was already present inside the ductwork. What changed is that the cleaning disturbed the source material without removing it. In San Jacinto’s climate, condensation forms inside duct runs during the summer because return air passes through hot attic spaces. That moisture supports mold and bacterial colonies on dust accumulations near the evaporator coil and along cold supply plenums. A contractor who runs a brush through the system without proper extraction equipment knocks those colonies loose, distributes spores through the airstream, and leaves behind the organic matter that was feeding them. The result is a stronger, more distributed odor than before.
The distinction that matters here is between surface-level agitation and actual remediation. Surface-level agitation is what happens when a rotating brush or compressed air whip disturbs mold growth but the vacuum system isn’t capable of capturing the released particles. Proper remediation requires negative air pressure containment, HEPA filtration, and antimicrobial treatment applied to the duct surfaces themselves. Equipment like Nikro HEPA-rated vacuum systems and Abatement Technologies air scrubbers are designed for exactly this scenario. They maintain negative pressure inside the duct run so that anything dislodged gets pulled into filtration rather than pushed into the living space. When we clean ducts in San Jacinto homes that have visible mold growth or heavy microbial contamination, we use containment-capable equipment rather than a standard brush-and-vacuum setup.
Here’s how to tell whether what you’re smelling is a disturbed colony that needs remediation or a less serious issue:
- Earthy or musty odor that starts within 72 hours of cleaning and doesn’t fade: This points to disturbed mold. The spores are now airborne in greater numbers than before.
- Sour or stale odor that fades within a few days: This is often the smell of decades of dust being stirred up. It resolves as your system cycles air through the filter.
- Smell localized to one room or one vent: This points to a specific contamination point, often a flex duct section that holds moisture or a return pulling air from a damp crawlspace.
- Chemical or solvent smell immediately after cleaning: This comes from cleaning agents that weren’t properly ventilated. It should dissipate within 24 to 48 hours.
If the musty odor persists beyond a week, the fix is not another surface cleaning. It’s a remediation pass with HEPA extraction and antimicrobial treatment, followed by identifying the moisture source that fed the mold in the first place. Without addressing the moisture, any treatment is temporary.
The Disconnected Flex Duct Problem
Flex duct is the flexible, insulated tubing that connects rigid trunk lines to individual room registers. It’s held in place with plastic zip ties and foil tape at each end. It’s also the most common casualty of an aggressive duct cleaning. When a rotating brush encounters a loose or aging flex duct joint, the mechanical force separates the duct from its collar. Sometimes the duct tears. Sometimes it collapses inward if the internal coil has degraded. The symptom you’ll notice is a room or a section of the house that suddenly gets noticeably less airflow than it did before the cleaning.
We see this regularly in San Jacinto because attic temperatures here exceed 140°F during summer. Flex duct’s plastic outer jacket becomes brittle, the inner liner degrades, and the tape at connections dries out. A duct system that’s been in an attic for ten years or more often has connections that are already compromised. A careful technician with a camera inspection identifies these weak points before cleaning. A technician running an aggressive brush through the system finds them the hard way.
Here’s how to confirm a disconnected flex duct on your own:
- Go to the affected room and feel the airflow at the register. Compare it to a room that feels normal. A disconnected duct typically reduces airflow by 50% or more because the air is dumping into the attic instead of the room.
- Check the temperature of the air coming out. If airflow is weak but the air is still cold, the duct is likely disconnected. If airflow is weak and the air is barely cool, you may have a different problem, like a refrigerant issue.
- Peek inside the register with a flashlight. If you can see the duct but it’s hanging at an angle or you can see the open end of a duct not seated on the register boot, that’s your disconnect.
- Listen at the register. A disconnected duct often produces a faint whistling or hollow sound as air rushes past the open joint inside the attic.
The fix requires accessing the attic or crawlspace, re-seating the duct on its collar, and securing it properly. This is straightforward work when the duct is intact. If the flex duct is torn, collapsed, or the inner liner has separated, the section needs replacement. That’s an Air Duct Repair in San Jacinto job, not a cleaning adjustment. A proper repair includes new mastic sealant and insulation at the connection, not just tape.
Allergy Symptoms After Duct Cleaning: Normal vs. Problem
Some dust disturbance during a duct cleaning is unavoidable. Even with professional extraction equipment, tiny particles get stirred up and take a few days to settle or get filtered out. For people with dust mite allergies or general respiratory sensitivity, a temporary flare-up for 48 to 72 hours after cleaning is not unusual and not a sign of contractor error. But there’s a clear line between a temporary disturbance response and a contamination event.
The timeline that separates normal from problematic:
- 0 to 3 days after cleaning: Mild congestion, sneezing, or irritated eyes. This is a normal response to particulate disturbance. It should improve each day.
- 3 to 7 days after cleaning: If symptoms are holding steady or improving slowly, the disturbance is resolving. If they’re getting worse, something is wrong.
- Beyond 7 days: Persistent or worsening symptoms indicate that the cleaning spread contamination rather than removing it. This is not normal and requires investigation.
- Symptoms that start weeks after cleaning: This points to a different problem entirely, usually mold growth that’s continued because the moisture source was never addressed.
A contractor-caused contamination event happens when equipment fails to capture dislodged material, pushing it into the living space. This occurs with undersized vacuum systems, improper filter media in the vacuum, or cleaning methods that agitate without extraction. In our experience, the worst cases involve contractors who use a shop-vac with a brush attachment, which lacks the static pressure and filtration to capture anything smaller than visible dust. The fine particulate, which is what actually triggers respiratory irritation, gets aerosolized throughout the house.
Proper equipment prevents this. A Nikro HEPA-rated negative air machine or a Rotobrush system designed for simultaneous agitation and extraction captures the majority of dislodged material at the point of contact. The difference is measurable. If you’re experiencing persistent respiratory symptoms after a duct cleaning and you know the contractor used improvised equipment, the most likely explanation is aerosolized particulate that settled into carpets, upholstery, and surfaces. The fix is a re-clean with professional-grade extraction, followed by a thorough surface cleaning of the living space.
Register Covers Reinstalled Incorrectly
Register covers are the visible grilles where conditioned air enters a room. They’re removed during cleaning and reinstalled afterward. It’s a two-minute task that gets done wrong more often than it should. An incorrectly seated register cover creates an air bypass at the collar, meaning some of the air flowing through the duct leaks into the gap between the duct boot and the drywall instead of entering the room. You lose airflow. You also get a whistling sound and, often, a dirt ring around the register from air escaping through the gap.
How to check for a properly seated register collar:
- Look at the perimeter of the register. The outer flange should sit flush against the wall or ceiling with no visible gap. A gap wider than the thickness of a coin is a problem.
- Check for a visible seal. If the register was removed and reinstalled, the old caulk or tape seal may have come off. A properly seated register often has a thin bead of sealant or foam tape between the flange and the drywall.
- Feel around the edges with the system running. Air escaping at the edges, not through the grille slots, means bypass.
- Inspect alignment. The register should sit square in the opening. If it’s cocked or forced into place, the boot and collar may be misaligned.
The fix is usually simple: remove the register, clean off old debris, apply foam tape or a fresh thin bead of sealant to the back of the flange, and re-seat it flush. Ensure the mounting screws bite into the drywall cleanly. If the drywall around the opening is damaged from aggressive removal, the repair becomes a minor drywall patch before reinstalling the register. This is a detail we pay attention to on every Air Duct Cleaning in San Jacinto job because it’s the kind of thing that separates a clean installation from a sloppy one.
The 5-Step Troubleshooting Sequence Before You Call Anyone Back
Before you call the company that cleaned your ducts, or before you call anyone at all, check our Air Duct Cleaning Warning Signs: A San Jacinto Homeowner’s Reference Guide and run through this sequence. It narrows down the problem and gives a competent contractor a head start on the diagnosis. It takes about 20 minutes.
- Check airflow per room. Walk through the house and feel each register. Note which rooms feel normal, which feel weak, and which feel strong. If weak rooms are clustered together on one side of the house or one floor, suspect a disconnected duct on that branch line.
- Inspect the filter. Pull the HVAC filter and look at it. If it’s heavily loaded with debris immediately after a cleaning, the contractor’s extraction was inadequate and the filter caught what the vacuum didn’t. If the filter is new and already looks like it’s been in place for months, you have significant particulate still circulating or being pulled from the return side.
- Do a visible register inspection. Check each register for proper seating, visible gaps, and signs of air bypass. Look for dust streaks radiating from the edges of any register, which indicate leaking air.
- Isolate the smell source. If you have an odor concern, walk room to room and identify whether the smell is strongest at registers, at the return vent, or near the air handler itself. A smell concentrated at the return points to contamination near the filter or coil. A smell at one register points to contamination in that specific duct run.
- Check the condensate drain. A clogged condensate drain causes water to back up into the drain pan and the coil area, creating a wet environment that smells and supports microbial growth. This problem is often blamed on duct cleaning when it’s actually a maintenance issue that existed beforehand or was accelerated by loosened debris washing into the drain line.
Document what you find. A competent contractor will want to know which rooms are affected, what the filter looked like, and where smells are strongest. Having this information before you call saves a diagnostic visit and points the work in the right direction from the start.
Why the Equipment Used Changes the Failure Rate
Troubleshooting a failed duct cleaning often comes back to one variable: what kind of equipment was on the truck. Duct cleaning is not a standardized service. A contractor can show up with a Rotobrush rotary brush system, a Nikro HEPA vacuum, and a camera inspection setup. Another contractor can show up with a shop-vac, a hardware-store brush, and a drill attachment. Both will say they’re “cleaning your ducts.” The outcomes are not comparable.
The gear changes what can go wrong:
- Rotary brush systems without proper extraction: These agitate effectively but require adequate vacuum capture. A brush spinning in a duct without sufficient negative pressure sends debris and contaminants downstream instead of out of the system.
- Undersized vacuum equipment: A shop-vac moves air. It does not create the static pressure needed to lift compacted debris from long duct runs. It also lacks the filtration media to capture fine particulates. The result is a dust redistribution, not a cleaning.
- No camera inspection before or after: Without visual verification, the contractor cannot identify pre-existing damage, loose connections, or blockages. And you cannot verify that the cleaning actually removed what it was supposed to remove.
- No HEPA filtration on the exhaust side: If the vacuum exhausts into the living space without HEPA filtration, everything it captures that’s smaller than the filter’s micron rating gets blown back into your house.
At Duct Cleaning San Jacinto home, our standard approach uses Rotobrush rotary brush systems paired with Nikro HEPA-rated collection equipment. We also carry Abatement Technologies equipment for jobs where contamination levels are high enough to require containment and air scrubbing. If a home had a recent renovation, a mold concern, or a pest problem inside the ductwork, the job needs remediation-level equipment, not standard cleaning gear. In San Jacinto’s housing stock, which includes many homes built in the 1990s and early 2000s with original flex duct and attic-mounted air handlers, pre-existing duct damage is common. The equipment used determines whether that damage is discovered carefully or made worse.
Homeowners with whole-home air quality platforms like Honeywell or Aprilaire systems have an additional consideration. These systems integrate with the HVAC to manage filtration, ventilation, and sometimes humidity. A duct cleaning that leaves debris in the system forces those integrated components to work harder, clogging high-MERV filters faster and reducing the efficiency of an Aprilaire dehumidifier or a Honeywell electronic air cleaner. Cleaning for these homes means thinking about the whole system, not just the duct barrels. That’s the difference between equipment-serious contractors and surface-level cleaners.
Common Mistakes to Avoid
- Hiring on price alone from a postcard or door hanger. The duct cleaning industry has a well-earned reputation for bait-and-switch because low teaser prices attract calls, and the actual scope gets upsold once the technician arrives. In San Jacinto, whole-system duct cleaning for a typical single-family home is a $400 to $800 job with professional equipment. Quotes dramatically below that range almost always mean a partial cleaning or significant upselling on-site.
- Skipping the pre-cleaning inspection. Any contractor who starts cleaning without first inspecting the system with a camera is guessing. You cannot clean what you haven’t looked at. Pre-existing damage, moisture problems, and disconnected sections should be documented before work starts.
- Accepting a cleaning without before-and-after photos. Camera photos of the duct interior before and after are the only verification that cleaning actually occurred. If a contractor cannot provide these, you have no proof of what was done. We provide before-and-after camera documentation on every job.
- Ignoring the dryer vent because the house has an HVAC cleaning scheduled. Dryer vents collect lint that reduces dryer efficiency and creates a fire hazard. Many HVAC-focused cleaners skip it entirely. A dedicated Dryer Vent Cleaning in San Jacinto service treats it as a separate job with its own inspection and verification, which is how it should be handled.
- Assuming a duct cleaning fixes mold, pests, or water damage. Cleaning removes particulate. It does not remediate mold, eliminate rodents, or fix a leaking return plenum. If these issues are present, they need to be addressed as separate problems, often with different equipment and methods.
- Waiting too long between cleanings and then expecting one pass to resolve everything. In San Jacinto’s dusty, high-pollen environment, ducts that haven’t been cleaned in ten years or more often have compacted debris that requires more time and more passes. A fast quote for a “complete” cleaning on a heavily loaded system is a red flag. Proper cleaning takes as long as the system requires.
- Replacing the system filter with a higher-MERV filter immediately after cleaning without checking compatibility. A HEPA or MERV 13 filter in a system not designed for that static pressure increase reduces airflow and strains the blower. We see this regularly. High-MERV filters work in systems designed for them, including those built around Honeywell or Aprilaire whole-home IAQ platforms.
When to Call a Professional
Call a professional when the problem involves anything you cannot visually verify or mechanically understand. A disconnected flex duct in an attic, a musty odor that won’t fade, persistent respiratory symptoms, a register that won’t seat properly, or airflow that’s measurably worse than before the cleaning are all professional calls. Ductwork is not built for homeowner repair. Attics in San Jacinto reach dangerous temperatures during summer months, and the work requires knowledge of static pressure, duct sizing, and proper sealing methods. If your troubleshooting sequence pointed to a real problem, get it addressed before it damages your HVAC system or contaminates your indoor air further. Air Duct Repair in San Jacinto is part of our service scope precisely because cleaning and repair are often the same job. Duct Cleaning San Jacinto offers free estimates in San Jacinto; call (866) 569-6948.
See the difference
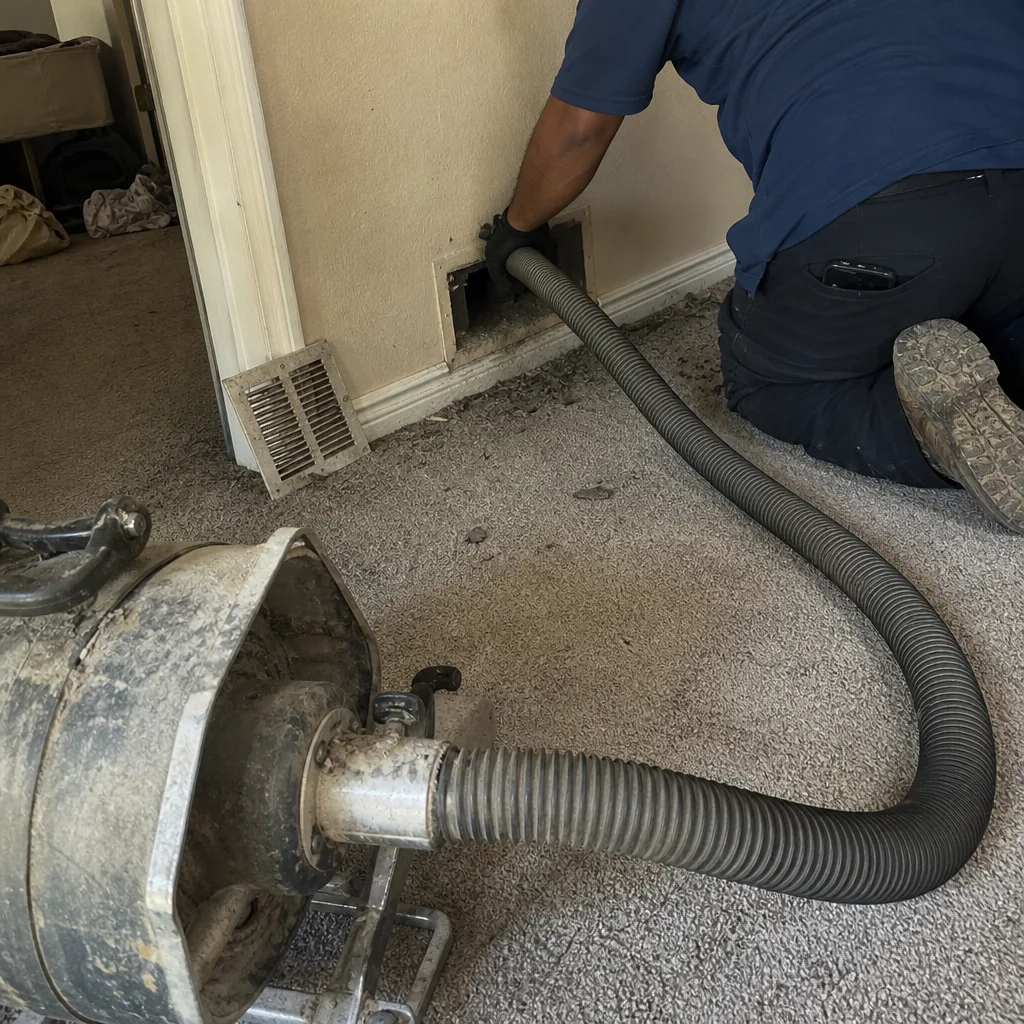 Before
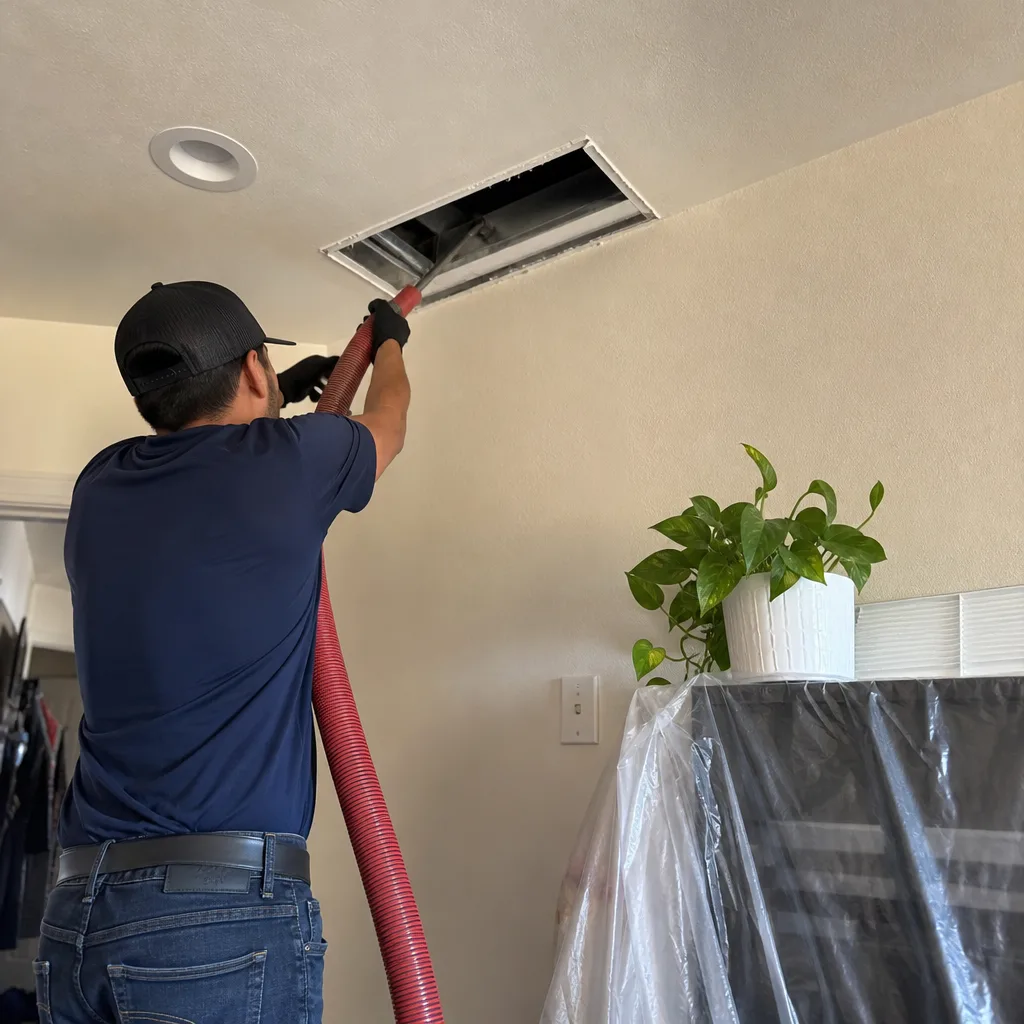 After
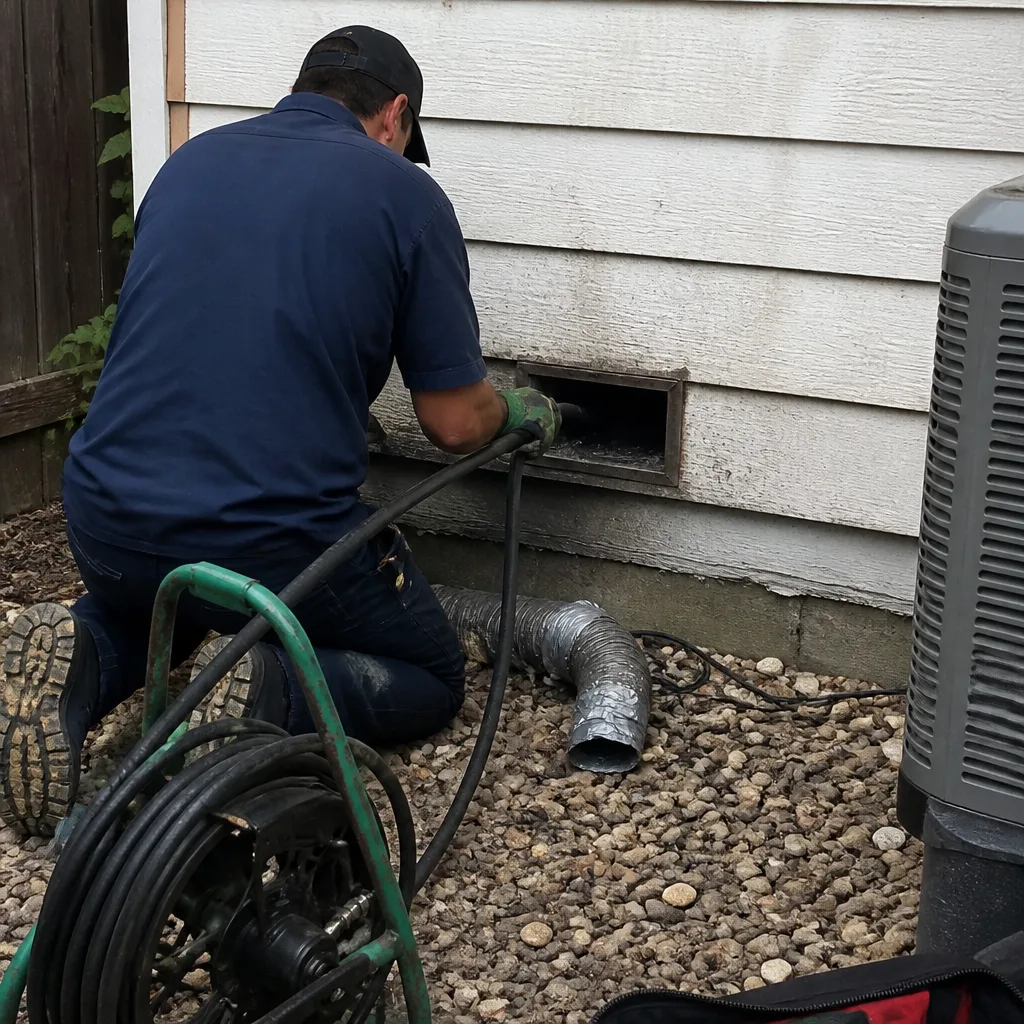 Before
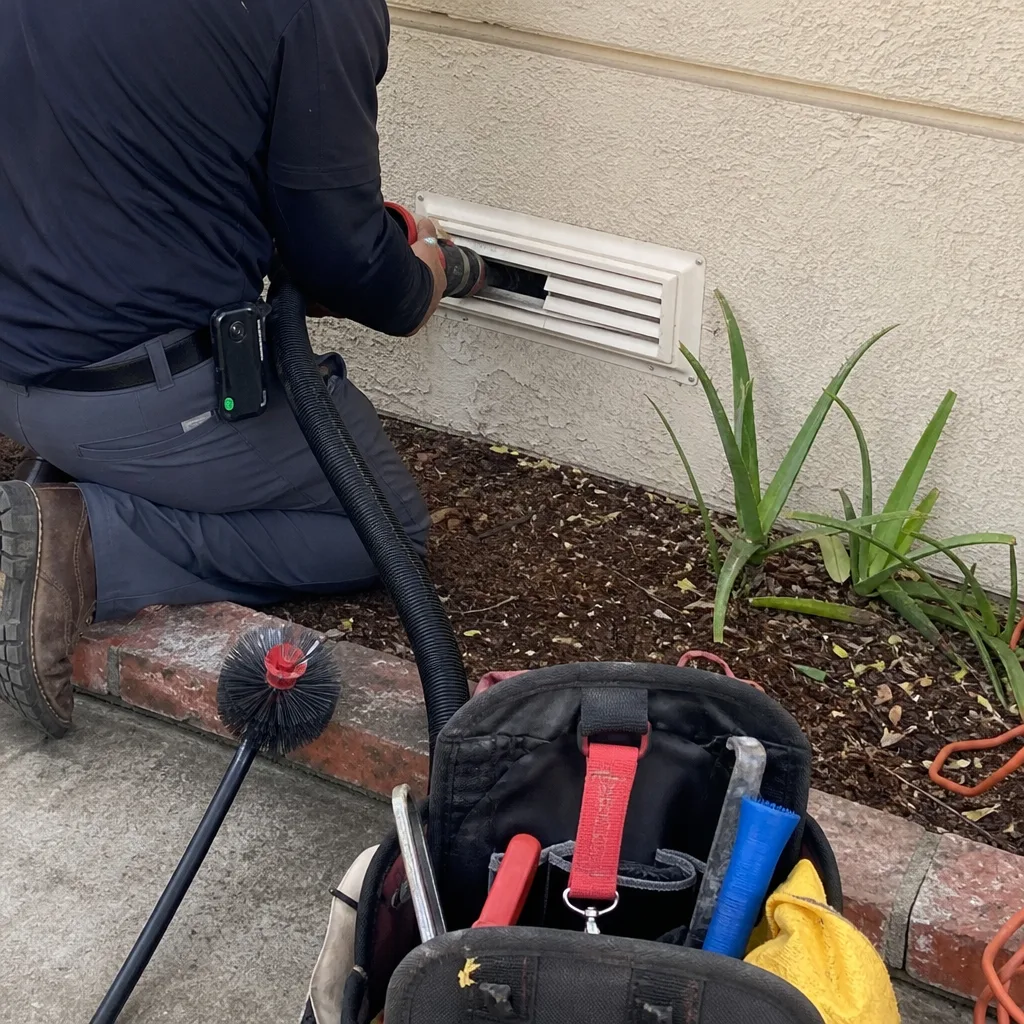 After
 Before
 After
Frequently Asked Questions
Whole-system air duct cleaning for a typical San Jacinto single-family home runs between $400 and $800 depending on system size, number of returns, accessibility, and the level of contamination present. Systems that haven’t been cleaned in a decade or more or that show evidence of mold or pest activity cost more because the work requires additional passes and different equipment. Call (866) 569-6948 for a free estimate based on your system’s actual condition.
A musty smell after duct cleaning typically means mold or bacterial colonies inside the ducts were disturbed but not removed. The cleaning agitated the source material and spread spores through the system without capturing them. Proper remediation uses HEPA extraction with negative air pressure and antimicrobial treatment on the duct surfaces, not just brush agitation.
Request before-and-after camera photos of the duct interior. A competent contractor documents the condition of the ducts before work begins and after the cleaning is complete. Without this documentation, there is no way to verify that cleaning occurred. Professional equipment with HEPA filtration also produces a measurable result: your filter should not be loaded with debris within days of the cleaning.
Weak airflow in a single room after duct cleaning usually indicates a disconnected or collapsed flex duct. Aggressive brush systems can separate aging flex duct connections in the attic, dumping conditioned air into the attic space instead of the room. The fix requires re-seating or replacing the duct section, which is an air duct repair issue, not a cleaning issue.
In San Jacinto’s dusty, high-pollen, high-heat environment, every three to five years is a realistic interval for most homes. Homes with pets, recent construction, or occupants with significant allergies may need more frequent service. The single biggest variable is filter discipline: a system that runs a quality filter and changes it regularly stays cleaner longer than a system running a cheap filter past its service life.
Cheap quotes almost always mean lesser equipment, faster work, and more on-site upselling. A contractor using a shop-vac and brush attachment can price the job far below one running Rotobrush agitation with Nikro HEPA extraction, because the equipment is cheaper and the work is faster. The cheap job doesn’t actually clean the system; it redistributes dust. A professional whole-system cleaning in San Jacinto is a $400 to $800 job. Quotes dramatically below that range are a signal that you’ll be quoted a higher number once the technician arrives. Call (866) 569-6948 to get an estimate based on the actual work your system needs.
The Bottom Line
Air duct cleaning problems are almost always caused by disturbed conditions that an underprepared contractor failed to identify or contain. Musty smells come from agitated mold colonies. Weak airflow comes from separated flex duct. Persistent allergy symptoms come from aerosolized particulate that proper HEPA extraction would have captured. The fix for each of these is not another surface cleaning; it’s the specific repair or remediation the original job should have included. For more guides & resources on protecting your home’s air quality, explore our blog. In San Jacinto, where HVAC systems work hard in brutal heat and ductwork ages fast in hot attics, the contractor you choose determines whether your duct cleaning solves problems or creates them. Look for professional equipment, camera documentation before and after, and a contractor who treats your duct system as a system, not a tube to shove a brush through.
Written by the team at Duct Cleaning San Jacinto, serving San Jacinto since 2015.